Aperçu de Notetaker
Note
Notetaker is being gradually rolled out to eligible users. Rejoignez la liste d'attente.
Notetaker provides AI-generated summaries, transcripts, and action items for your recorded meetings. Shareable via email, link, or downloadable TXT file, Notetaker recaps help you stay organized and follow up quickly.
Par exemple, vous pouvez :
- Partager des vidéos de recaps, des extraits ou des notes de réunion — avec une protection par mot de passe en option
- Demander à Notetaker des informations sur votre réunion pour obtenir rapidement des réponses à partir de la transcription de votre réunion
- Activer des modèles de recaps adaptés à votre secteur
- Exporter les transcriptions au format TXT pour simplifier la documentation
Avant de commencer
- Notetaker fonctionne avec Zoom, Google Meet et Microsoft Teams, même si vous n'êtes pas l'organisateur ou si la réunion n'est pas programmée via Calendly.
- Les recaps ne sont pas créés pour les réunions de moins de 4 minutes ou celles sans audio.
À quoi s'attendre lorsque Notetaker rejoint vos réunions
- Si vous êtes l'organisateur: Notetaker rejoint votre réunion à l'heure prévue, demande votre consentement à l'enregistrement et commence l'enregistrement une fois admis ou confirmé. Il apparaît comme un participant à l'appel.
- Si vous n'êtes pas l'organisateur: Notetaker rejoint toujours la réunion en votre nom, mais l'organisateur doit approuver l'enregistrement et décider de l'admettre ou de le refuser. Vous serez informé si la réunion est enregistrée. Notetaker apparaîtra comme un participant à la réunion.
En savoir plus sur ce qui se passe lorsque Notetaker rejoint vos réunions.
Comprendre les notifications et contrôles d'enregistrement
Notetaker inclut des fonctionnalités intégrées pour aider tout le monde à savoir quand une réunion est enregistrée et à agir si nécessaire.
Notifications d'enregistrement
Lorsque Notetaker commence à enregistrer, il publie un message dans le chat de la réunion. Cela permet à tous les participants de savoir que la réunion est enregistrée. Certaines applications de réunion peuvent également afficher leur propre alerte d'enregistrement.
Arrêter l'enregistrement à tout moment
Toute personne présente à la réunion peut arrêter l'enregistrement en tapant /stop dans le chat. Les participants peuvent également demander à l'organisateur ou à l'utilisateur Calendly de retirer Notetaker.
Si vous utilisez la commande /stop, l'enregistrement ne peut pas être réactivé pour cette réunion.
Avis préalable
Les participants peuvent être informés avant la réunion que Notetaker rejoindra et enregistrera. Vous pouvez activer ces notifications par e-mail dans vos Paramètres de Notetaker.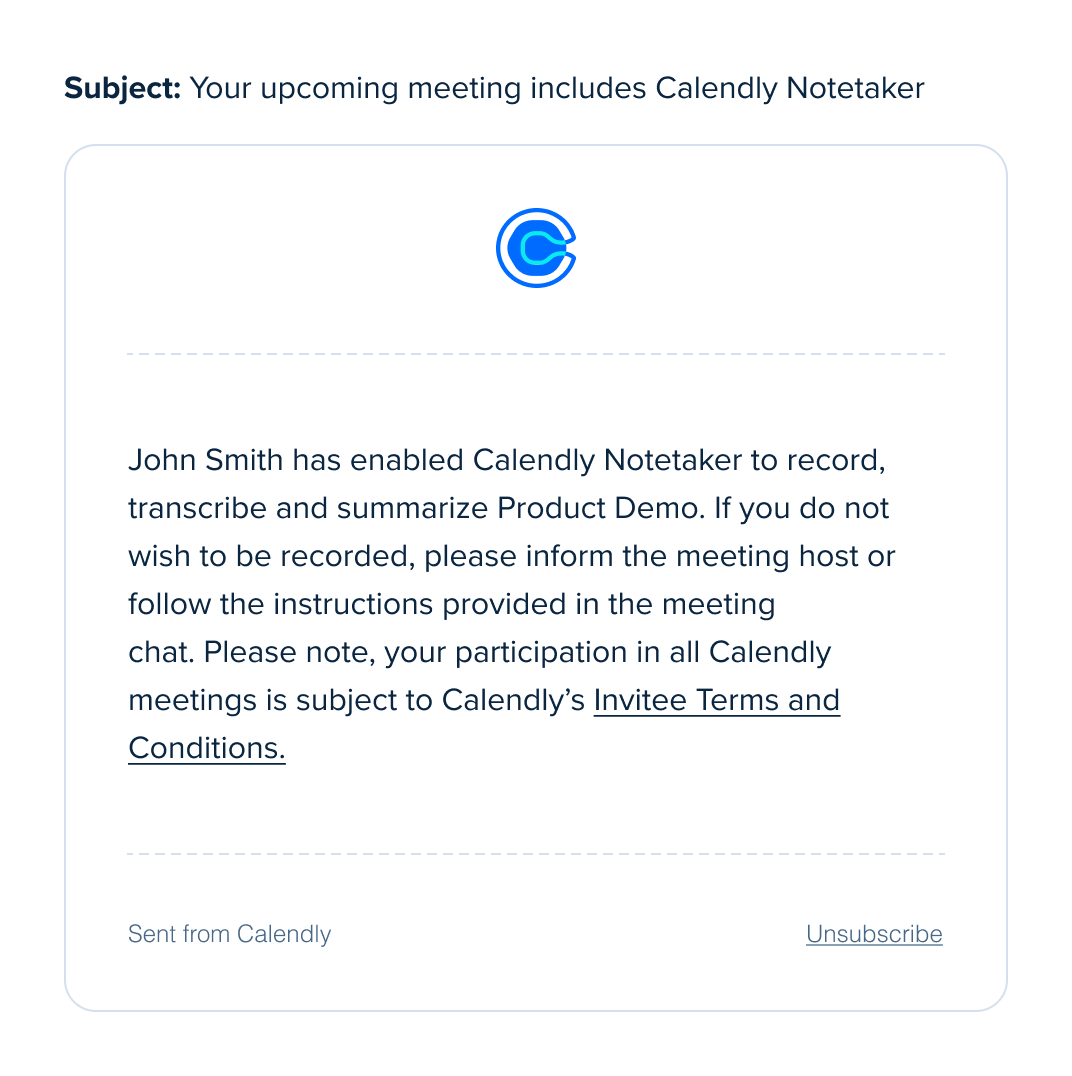
Ces fonctionnalités aident les participants à rester informés avant et pendant la réunion. Elles offrent également à chacun un moyen clair d'arrêter l'enregistrement à tout moment.
Prêt à en savoir plus sur Notetaker ?
- Comment configurer Notetaker
- Comment ajouter Notetaker à vos réunions
- Comment partager les recaps de Notetaker
- Comment supprimer un recap de Notetaker
- À quoi s'attendre lorsque Notetaker rejoint vos réunions
- Comment afficher les réunions du calendrier dans Calendly
- Dépannage de Notetaker
Questions fréquentes
Remarque: Cette fonctionnalité est actuellement en développement et disponible pour un groupe restreint de petites organisations. Nous la déployons progressivement auprès de plus d'utilisateurs au fur et à mesure que nous l'améliorons.
Si Notetaker est disponible pour votre organisation, la réponse est oui. Les Propriétaires et les Administrateurs peuvent désactiver Notetaker pour l'ensemble de l'organisation.
Pour savoir comment faire, suivez les étapes de Comment supprimer Notetaker des réunions.
Non. L'organisateur de la réunion doit approuver Notetaker dans chaque nouvelle réunion Zoom.
Vous pouvez voir une option «Se souvenir de ce choix» dans Zoom. Cela ne fonctionne que pour la réunion à laquelle vous participez. Elle ne s'applique pas aux réunions futures.
La case «Se souvenir» est utile si l'organisateur doit approuver plusieurs Notetaker pour enregistrer une même réunion. Elle empêche les fenêtres contextuelles supplémentaires uniquement pendant cette session.
Pour chaque nouvelle réunion Zoom, l'organisateur doit approuver à nouveau Notetaker. Il n'existe aucun paramètre permettant à Notetaker d'enregistrer automatiquement toutes les réunions futures.
Calendly fournit des notifications et des contrôles d'enregistrement pour vous aider à obtenir le consentement afin que Notetaker puisse rejoindre et enregistrer votre réunion.
Vous êtes responsable de déterminer si ces fonctionnalités répondent à vos besoins en matière de conformité, y compris le Règlement général sur la protection des données (RGPD).
Dans Google Meet et Zoom, certains paramètres d'administrateur peuvent bloquer les messages dans le chat provenant de participants non humains. Lorsque cela se produit, les participants peuvent ne pas voir les messages de consentement de Calendly Notetaker ni la réponse à la commande /stop dans le chat de la réunion.
Le Notetaker est conçu pour suivre votre réunion lorsqu'elle passe de la salle principale aux salles de sous-groupes.
Voici comment cela fonctionne :
- Le Notetaker rejoindra automatiquement les salles de sous-groupes lorsqu'il est invité
- Il reviendra dans la salle principale lorsque l'organisateur fermera les salles de sous-groupes
- Lorsqu'il se trouve dans une salle, le Notetaker continue à fonctionner normalement et peut quitter la salle si :
- Tous les participants quittent la salle
- Il y a un silence prolongé
Conseils pour une expérience fluide
- Demandez à l'organisateur de fermer les salles de sous-groupes lorsque la session se termine
- Si nécessaire, l'organisateur peut déplacer le Notetaker entre les salles à tout moment
Cette configuration aide le Notetaker à rester en phase avec le déroulement de votre réunion, que vous collaboriez en petits groupes ou que vous soyez de retour dans la session principale.
Lorsque vous passez à une autre organisation Calendly, vos paramètres Notetaker et vos Meeting Recaps ne sont pas transférés.
Non. Les Recaps restent rattachés à l'organisation d'origine et peuvent ne plus être accessibles après le transfert.
Téléchargez tous les Meeting Recaps que vous souhaitez conserver et réactivez Notetaker après avoir rejoint la nouvelle organisation.